# How to Share Your PC Screen: A Practical Guide
Sharing your PC screen should be simple. In apps like Zoom (opens new window) or Microsoft Teams (opens new window), you find the button labeled “Share Screen” or “Present,” pick what you want to show, and you're live. The whole thing takes about three seconds.
The real skill isn't clicking the button. It's what you do right before.
# Mastering the Screen Share Basics Before You Click
That moment before you go live is where you make the important decision: choosing what to share. You have two main options: your entire screen (your desktop) or a single application window.
This choice determines what your audience sees. It's your best defense against accidentally showing them a messy desktop or a private Slack message.
# Share Entire Screen vs. Share Application Window
To help you decide on the fly, here’s a quick breakdown of which option works best for different situations.
| Feature | Share Entire Screen | Share Application Window |
|---|---|---|
| Best For | Demonstrating a workflow across multiple apps. An example would be pulling data from Excel into a web app. | Presenting a single document, like a PowerPoint deck or a browser tab. |
| Privacy | Low. Everything on that monitor is visible, including notifications and other open apps. | High. Only the selected window is shared. Everything else is private. |
| Audience Focus | Can be distracting if your desktop is cluttered or notifications pop up. | Keeps the audience focused on the content you want them to see. |
| Flexibility | High. You can switch between applications without stopping the share. | Low. You have to stop and restart the share to show a different application. |
If you’re showing a slide deck, share the application window. It’s the safest, most professional choice. If you need to jump between programs to tell your story, sharing your entire screen is the only way. Just clean up your desktop first.
# Check Your System Permissions First
A common trip-up is a permissions pop-up, especially on a Mac. Your operating system needs to grant your meeting app permission to record your screen.
Discovering this for the first time when you’re live looks bad. The app often needs to restart, killing the meeting's momentum while everyone waits.
Set this up ahead of time.
- On macOS: Go to System Settings > Privacy & Security > Screen Recording. Find your meeting app (Zoom, Teams, etc.) in the list and make sure the toggle is on.
- On Windows: Permissions are generally less strict. Still, it's a good idea to do a quick test share before a big presentation to make sure everything works.
This kind of prep is a key part of better meetings. For more on running efficient calls, check our ultimate guide to productive Zoom meetings (opens new window).
# The Foundation of Remote Work
Screen sharing is fundamental to how we work. The global screen sharing software market is projected to grow from USD 682.2 million in 2025 to over USD 1.2 billion by 2033, a trend directly tied to the rise of remote and hybrid work.
Getting these basics right is about being an effective collaborator when the screen is the new meeting room.
# How to Share Your Screen in Zoom, Teams, and Meet
Most meeting platforms follow a similar script for screen sharing, but the specific buttons and menus can feel just different enough to throw you off. One app calls it "Share," another "Present," and the settings for audio and video are never in the same place twice.
Getting comfortable with the differences between Zoom, Microsoft Teams, and Google Meet is how you share your screen without hesitation. This guide breaks down the exact steps for each, focusing on small details—like remembering to share computer audio—that separate a smooth presentation from a clunky one.
The process is always the same: first, get permissions straight, then choose what you're sharing, and finally hit "Present."
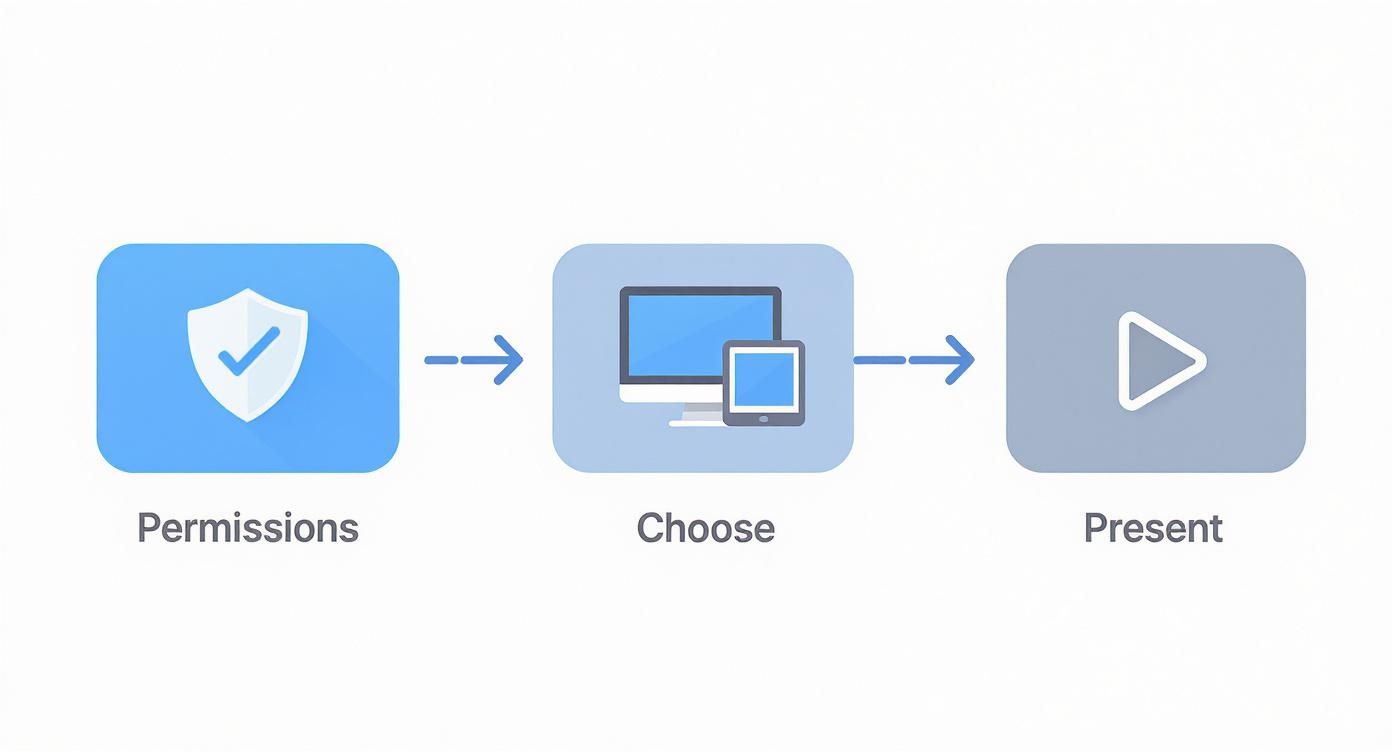
It’s less about one big action and more about a sequence of small choices.
# Sharing Your Screen in Zoom
Zoom makes this easy to find. Look for the green "Share Screen" button in the middle of your bottom toolbar. Clicking it pulls up a window with thumbnails of every open application and screen.
This is where you make your first choice: share an entire desktop (labeled "Screen 1" or "Screen 2") or just a single application window.
The most common mistake happens right here. Before you click the final blue "Share" button, look at the bottom of the pop-up window for two checkboxes.
- Share sound: You have to check this if you're playing a video or anything with audio. If you don't, your audience will see a silent movie.
- Optimize for video clip: This tells Zoom to prioritize a smooth frame rate, preventing laggy, choppy playback.
These two toggles are easy to miss when you're in a rush. For a deeper look, check our dedicated guide on how to share your screen on Zoom (opens new window).
# How to Share in Microsoft Teams
In Microsoft Teams, the share button is an upward-pointing arrow inside a box, usually in the top-right corner of the meeting. It’s labeled "Share."
Once you click it, a sharing menu slides up from the bottom. Teams organizes your options into a few categories: "Screen," "Window," "PowerPoint Live," and "Whiteboard."
- Screen: Shares your entire desktop. If you have multiple monitors, you'll need to pick which one to show.
- Window: Lets you isolate and share just one specific app.
- PowerPoint Live: This feature is unique to Teams. It loads your presentation directly into the meeting, giving you private access to your presenter notes and slide thumbnails. Your audience can even click through the slides on their own.
Need to share audio? Look for the "Include computer sound" toggle at the top of the share menu. You have to flip this switch before you choose which screen or window to share.
# Presenting Your Screen in Google Meet
Google Meet uses the phrase "Present now." The button—another arrow-in-a-box icon—sits in the bottom-center of the screen, next to your mic and camera controls.
Clicking it gives you three options:
- Your entire screen: The classic full-desktop share.
- A window: For sharing a single application.
- A tab: This is your best choice for sharing web-based content, especially videos. It's optimized to stream audio and video from a single browser tab, resulting in the smoothest playback.
When you present a tab, Google Meet automatically checks the "share tab audio" box for you. But if you’re sharing your entire screen or a window, you'll have to find and check a separate box to include your audio. It’s a tiny step, but an easy one to forget.
# Navigating Dual Monitors and Screen Resolution
Using more than one monitor improves productivity but adds a layer of complexity to screen sharing. The moment that share dialog pops up showing "Screen 1" and "Screen 2," you have to be certain which one you're about to broadcast.

We've all seen it happen. Someone shares the wrong screen, and the entire meeting gets an unfiltered look at their personal emails or a private Slack conversation. It’s an easy mistake to make, and just as easy to avoid.
# Choosing the Right Monitor Every Time
Before you click "Share," identify your screens. In Windows, go to Settings > System > Display. You'll see your monitors laid out as numbered boxes. Click the "Identify" button, and a large number will flash on each of your physical screens, telling you which is 1 and which is 2.
Knowing this simple mapping is your first line of defense. While you're there, you can drag the boxes around to match their physical layout on your desk.
My Pro-Tip: I've developed a habit that has saved me from embarrassing shares. I dedicate my secondary monitor for all shared content. My primary monitor is strictly for the meeting window itself. This creates a mental firewall. All my presentation materials, browser tabs, and documents go on the right; all personal apps and chat windows stay on the left. Simple, but effective.
# Don't Let High Resolution Ruin Your Presentation
Here’s a problem you might not notice on your end. If you're presenting from a high-resolution display, like a 4K or 5K monitor, everything looks clear to you. But for your audience viewing on standard 1080p laptops, your text and interface elements can shrink to an unreadable size.
They'll either squint in silence or interrupt you to say they can't see anything. Neither is good.
The fix is simple: temporarily lower your screen resolution before a big presentation.
- On Windows: Right-click your desktop, choose Display settings, and pick a more universal resolution like 1920 x 1080.
- On macOS: Go to System Settings > Displays and select one of the "Larger Text" scaled options.
This adjustment ensures your content is legible for everyone. Just remember to switch it back when you're done. If you want to get into the details of pixel density and aspect ratios, a screen resolution calculator (opens new window) can be a handy tool.
# Using PowerPoint Presenter View
One of the best ways to use a dual-monitor setup is with PowerPoint's Presenter View. You see your speaker notes, a timer, and a preview of the next slide on your screen, while your audience sees only the full-screen slideshow on the other.
To set it up, go to the Slide Show tab in PowerPoint and make sure the "Use Presenter View" box is checked. When you start your presentation, PowerPoint automatically takes over both screens. If it gets them backward, click "Display Settings" at the top of your Presenter View window and select "Swap Presenter View and Slide Show."
# Simple Tricks for a More Professional Presentation
Once you've got the basics of screen sharing down, it's the small details that elevate your presentation. These are the habits that separate a fumbling share from one that feels effortless. It’s less about knowing which button to click and more about anticipating the flow of the meeting.
A good place to start is with keyboard shortcuts. Fumbling with your mouse to find the tiny "Stop Sharing" button kills momentum. Learning the keyboard command for your favorite app lets you start and stop a share instantly.
Here are the shortcuts to memorize:
- Zoom:
Alt+S(orCmd+Shift+Son Mac) to start or stop sharing. - Microsoft Teams:
Ctrl+Shift+Eto start or stop sharing. - Google Meet:
Ctrl+Alt+Sto start or stop sharing.
# Prepare Your Digital Stage
Before you hit that share button, prep your desktop. Think of it as tidying up a conference room before everyone arrives.
Close every unnecessary application and browser tab. Have the specific files and windows you plan to show already open. Turn on your operating system's "Do Not Disturb" or "Focus" mode to kill all notifications. A random email alert or chat pop-up can derail your train of thought.
A clean desktop communicates focus. A cluttered one communicates chaos. Your audience will notice.
# Sharing Video and Audio the Right Way
Sharing a video with audio is where things often go wrong. You play a video, and everyone stares at a silent film until someone says they can't hear anything.
Every platform has a checkbox for this, usually labeled "Share sound" or "Include computer sound," in the screen share menu. You have to check this box before you start sharing. If you're showing a high-motion video, also look for an "Optimize for video clip" option. This prevents choppy, lagging playback.
Clear audio is as important as clear visuals. For more on this, a good resource explains how to remove background noise for perfect audio (opens new window). And if you want to automate these controls, our guide on a Stream Deck setup for Google Meet (opens new window) shows how you can manage your presentation with physical buttons.
# Solving Common Screen Sharing Glitches
It will happen. You’ll click "Share Screen," and your audience will get a black void, a frozen frame, or distorted audio. Knowing how to fix the most common glitches is the difference between a minor hiccup and a presentation-ending disaster.
Most of these issues boil down to a few predictable things: system permissions, outdated drivers, or a hidden setting in the meeting app. A methodical approach will solve almost anything.
# The Dreaded Black Screen
Nothing induces panic quite like the black screen. You think you’re sharing your presentation, but your viewers see nothing. Before restarting your computer, try these two things first.
- Toggle Hardware Acceleration: This setting lets meeting apps use your graphics card (GPU) for video processing. Sometimes this causes conflicts. In Zoom, find this in Settings > Video > Advanced. For Teams, it's under Settings > General > Disable GPU hardware acceleration. Try turning it off.
- Update Your Graphics Drivers: An old graphics driver is a frequent cause. Go to the website for your GPU manufacturer—NVIDIA, AMD, or Intel—and get the latest drivers for your specific model. A quick driver update often fixes the problem.
# When Your Screen Share Is Laggy or Choppy
If your audience complains about a jerky, lagging screen share, the problem is almost always bandwidth or system resources. Screen sharing is a demanding task.
First, close every application and browser tab you don't absolutely need for the presentation. Each open program uses CPU and memory. And if you’re sharing a video, make sure you’ve ticked the app’s "Optimize for video clip" setting.
The quickest fix for lag is often the simplest: stop sharing your entire high-resolution desktop and share just the specific application window instead. This drastically reduces the amount of data your PC has to encode and send.
# Fixing Pesky Permission Pop-ups
Ever had your Mac or PC block a screen share at the last second with a permissions error? That’s your operating system protecting your privacy. The fix is to grant the app access before your meeting starts.
On macOS, go to System Settings > Privacy & Security > Screen Recording. Find your meeting app in the list and make sure its toggle is on. Windows is generally less strict, but if you hit a wall, check your antivirus or firewall settings.
Sorting out permissions ahead of time removes a common point of failure.
# Screen Sharing FAQs
Even when you know the basics, questions pop up right before a big presentation. Here are some of the most common ones.
# Can People See My Notifications When I'm Sharing?
Yes, and this is a classic mistake. If you share your entire screen or desktop, every single notification that pops up—email previews, chat pings, system updates—is visible to everyone in the meeting.
To avoid this, you have two solid options:
- Share a specific application window. This is the safest bet. It isolates that one window, and nothing else on your screen will be visible.
- Turn on your computer's Focus or Do Not Disturb mode before you start. This silences all pop-ups.
# How Do I Let Someone Else Control My Mouse and Keyboard?
Giving another person remote control is useful for collaborative work or IT support. Most platforms hide this option until you've already started sharing your screen.
- Zoom: Once you're sharing, a "Remote Control" button appears in the meeting toolbar at the top. Click it and pick the person you want to give access to.
- Microsoft Teams: Look for the "Give Control" button in the sharing toolbar. A dropdown list will let you choose a participant.
They get full control of your mouse and keyboard within what you're sharing. Only grant access to people you trust. You can always take back control by clicking the same button.
# Is Screen Sharing Different on a Mac vs. a Windows PC?
Inside the meeting app, the process is almost identical. The "Share Screen" button is in the same spot, and your choices are the same.
The real difference is system-level permissions. macOS is strict about privacy. The first time you try to share your screen with an app like Zoom, it will force you into System Settings > Privacy & Security > Screen Recording to grant permission manually.
It's a one-time thing per app, but it requires you to restart the application. If you haven't done this ahead of time, you'll have to awkwardly quit and rejoin the call. Windows is far more forgiving and almost never makes you go through this process.
Tired of fumbling for the right button mid-presentation? MuteDeck gives you universal, one-touch hardware controls for all your meeting apps. Mute your mic, toggle your camera, and manage your screen share with a physical button, so you can stay focused on your audience, not your software. Take control of your meetings by visiting https://mutedeck.com (opens new window).